

Setting Up Mics For Vocals
Professional Recording Blueprint
1. Core Microphone Physics & Types
Before placing a microphone on a stand, an engineer must understand the hardware processing the audio signal. Choosing the wrong microphone for a vocalist creates irreversible frequency imbalances that no plugin can fully fix.
The Two Primary Microphone Archetypes:
- Large Diaphragm Condensers (LDC): The absolute industry standard for studio pop, R&B, and modern rap vocals. They are highly sensitive, capture extremely wide frequency ranges, and require external +48V Phantom Power from your interface to operate the internal circuitry.
- Dynamic Microphones: Built with a moving coil mechanism, these are rugged and less sensitive. They excel at capturing incredibly loud sound pressure levels (SPL) like screaming, heavy metal, or aggressive rap. Unlike condensers, they do not require phantom power. Popular examples include the Shure SM7B. Note: sending phantom power to vintage Ribbon mics can destroy them, but modern dynamics safely ignore it.
Interactive Checklist: Part 1 Hardware Basics
2. Spatial Mechanics & Polar Patterns
Microphones do not capture sound equally from all directions. A microphone's "Polar Pattern" dictates its physical field of listening, dictating what audio makes it to the capsule and what gets rejected.
Essential Polar Patterns:
- Cardioid: The heart-shaped standard for recording single vocalists. It captures audio directly from the front while heavily rejecting audio from the rear, keeping background noise out of the recording.
- Omnidirectional: Captures audio equally from 360-degrees. Excellent for capturing the natural sound of an expensive room, but terrible if you are recording in a noisy bedroom.
- Bidirectional (Figure-8): Captures sound from the front and back, but completely rejects the sides. Ideal for recording two vocalists facing each other simultaneously.
Interactive Checklist: Part 2 Spatial Control
3. The Acoustic Environment
You can buy a $3,000 microphone, but if your room sounds terrible, your vocal will sound terrible. A microphone doesn't just record the voice; it records how that voice reflects off the walls.
Do not confuse Soundproofing (building mass to stop sound from escaping the room) with Acoustic Treatment (using absorbers to stop sound from bouncing wildly inside the room).
Treating Room Reflections:
- Comb Filtering: A disastrous phasing issue caused when the direct vocal hits the mic slightly before the bounce from a nearby bare wall. Acoustic foam panels absorb high-frequencies to stop this bounce.
- Bass Traps: Thick, dense acoustic panels placed directly in the corners of a room to absorb uncontrollable low-end frequency buildup.
- Reflection Filters: A curved acoustic shield mounted behind the microphone. Essential for bedroom engineers who cannot afford full room treatment.
- Standing Waves: Placing a microphone dead center in a perfectly square room creates chaotic low-end standing waves. Always position slightly off-center.
Interactive Checklist: Part 3 Acoustic Environments
4. Setup, Placement, & Advanced Technique
How a vocalist stands in relation to the microphone drastically alters the final EQ curve of the recording. Small shifts in distance and angle act as natural equalization.
Placement Physics:
- The Proximity Effect: The closer a vocalist gets to a directional microphone, the more the low-end bass frequencies drastically increase. Use this to fatten a thin voice, but step back if the vocal gets muddy.
- Axis Control: If a vocalist has harsh "S" sounds (sibilance), angle the microphone slightly off-axis (turned 10 to 15 degrees to the side) rather than EQ-ing later.
- Height Targeting: Pointing the capsule slightly down towards the chest enhances low-mid resonance. Pointing it slightly up towards the nose enhances high-frequency presence.
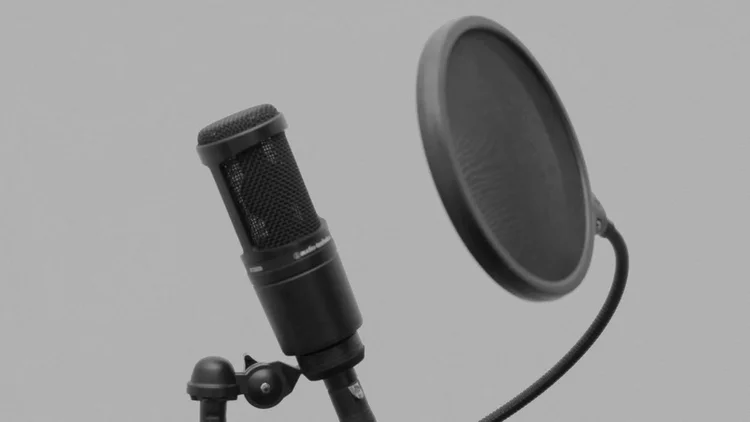
- Hardware Protection: Always use a Pop Filter to block sudden bursts of air (plosives like 'P' and 'B' sounds). Always use a suspended Shock Mount to stop heavy footsteps or low-end floor rumble from transferring up the mic stand into the capsule. Never let a vocalist physically hold a condenser stand while tracking.
- Gain Staging: Use your interface preamp to boost the mic signal. Aim for your loudest peaks to hit around -12dB to -18dB in your DAW to prevent digital clipping.