

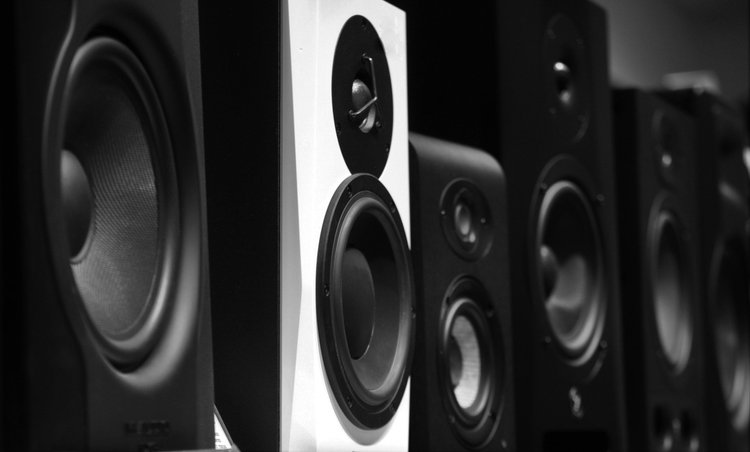
Setting Up Speakers
Acoustic Physics & Monitor Placement
1. The Equilateral Triangle Rule
Studio monitors are highly directional. If you place them incorrectly, you are fundamentally lying to your ears and destroying the accuracy of your mix. The absolute golden rule of studio geometry is the Equilateral Triangle.
The distance between your left speaker and your right speaker must be exactly identical to the distance from each speaker to the back of your head. If your speakers are 4 feet apart from each other, your head must be exactly 4 feet away from the center of each tweeter. This creates the optimal listening position, known as the Sweet Spot.
Furthermore, the tweeters (the small high-frequency drivers) must be placed exactly at ear level. High frequencies are highly directional lasers of sound. If the tweeters are pointing at your chest or over your head, your mix will sound muddy and you will over-boost the treble to compensate.
Interactive Checklist: Geometry & Angle
2. Acoustic Decoupling & Isolation
A speaker operates by vibrating rapidly to push air. If your studio monitors are sitting flat on a wooden desk, those low-end vibrations will transfer directly into the wood. The desk itself will become a giant speaker, resonating uncontrollably and completely ruining the accuracy of your low-mid frequencies.
You must Decouple your monitors. This means physically isolating them from the desk or the floor. The cheapest way is to place them on dense foam Isolation Pads (like Auralex). The professional way is to place them on dedicated, heavy speaker stands located behind the desk. (Pro tip: Filling metal speaker stands with playground sand adds dead weight, preventing the stands themselves from ringing).
Interactive Checklist: Decoupling
3. Boundary Interference (SBIR) & Walls
Many beginner studio monitors are Rear-Ported, meaning the bass exhaust hole is on the back of the speaker. If you shove a rear-ported speaker directly against a wall, the bass violently reflects off the drywall and crashes back into the direct sound.
This creates a disaster called Speaker Boundary Interference Response (SBIR). The reflected bass waves will collide out of phase, artificially multiplying some bass notes by +10dB while completely deleting other bass notes from existence. Your mix will sound huge in your bedroom but completely hollow in your car.
To mitigate this, you must pull rear-ported speakers at least 1 to 2 feet away from the front wall. If your room is too small for this, you must place massive acoustic Bass Traps directly behind the monitors to absorb the rear exhaust energy.
Interactive Checklist: SBIR Control
4. Room Treatment & The Mirror Trick
When audio leaves your speakers, you hear the direct sound first. Milliseconds later, you hear the sound bouncing off the side walls. This bounce causes Comb Filtering—a harsh, metallic phase cancellation that destroys stereo width and accuracy.
You must treat your Early Reflection Points. To find these, sit in your listening sweet spot and have a friend slide a flat mirror slowly along the left and right walls. When you can physically see the speaker tweeter in the mirror, mark that spot with tape. That exact spot is where the sound is bouncing into your ear. Place your primary acoustic absorption panels there to kill the bounce.
Lastly, digital Room Correction Software (like Sonarworks) can be used to EQ the output of your speakers to flatten out room anomalies. *However*, you must remember to turn the correction software OFF before exporting your final WAV file, or you will print the room-correction EQ onto your actual song.